Followers

Showing posts with label iris paper folding. Show all posts

Thursday, August 18, 2011

It is the Stampin' Up Card swap time....

On the topic of sketches, each month we are given a sketch and color scheme by our friend and local consultant Julie. This month there were 3 squares and then a sentiment on card front and the colors where brown, pink and green. This month I managed to get all 3 colors in on one card . Here are the results. We are supposed to make 5 cards but since only 4 fit on the Cricut mat I did 4. Normally I come home with 1 or 2 extra so I am not worried.

I designed the card fronts to have the 3 squares cut out on my Gypsy. This is the first time I have ever done it and think it is great! I did the one iris paper folding card and decided that I must have been crazy as I was not working off a template. I love coloring these images and they are from a SU set I borrowed from a friend.


I am enjoying working from sketches very much. You can get the general idea so feel free to cardlift it :D Until next time.....

Monday, February 21, 2011

Thanks a Melon

Okay, this is not the most original Blog line but it is fitting here. My friend Erin (Comfy on my Cloud) lent me her Cricut Preserves cartridge. I was not feeling too ambitious but managed to squeak this one out. I got to use my new Cuttlebug embossing folder on it.


This weekend I also had to prep my Motions and Fold Blog Hop Project. I wanted to post the template I used and a mini supply list for those of you that are able to join us next Saturday.
This template shows you how the papers will be laid down for this simple Iris Paper folding technique. I actually designed all the segments on the Gypsy so it allowed me to cut multiples with ease. If you do not have a Gypsy, don't worry. My original card I will show was made with my paper cutter and an Exacto knife to cut out the center square. Here is what you will need:


* Colored cardstock cut 4" x 5" (approx)
* Light colored patterned paper cut into 4 - 2.5" x 2" strips
* Darker coordinating patterned paper cut into 4 - 2.5" x 2" strips
* Adhesive or Scotch tape (I recommend adhesive)
* 4.25"  x 5.5"Card base in a complimentary color


That is all the info I have for you right now. The blog hop will take place on Saturday, Feb. 26th. You will start the hop here: The Fabulous CardMonkey


Well in the immortal words of Porky Pig, "That's all Folks!" Until next time...


Happy Scrappin'


Sue

Friday, February 18, 2011

Howdy to all my peeps :)

Happy Friday to you all! Today is extra special as I have the whole day off and 4 days to spend with my family. Today will also be a crafty day as I want to get everything ready for the Motion and Folds Blog Hop. I am so incredibly blessed to be doing this with an amazing group of bloggers. Our hostess, Ellen aka Cardmonkey (http://cardmonkey-business.blogspot.com) has put this together and I think she deserves a HUGE round of applause. Thanks Ellen and I am sure everyone feels the same. So remember to save the date to join us on the hop. Remember that I will also be giving away blog candy as well.


Later I will be posting some of the projects that I will have made today so wish me luck! Until next time...

Happy Scrappin'

Sue

Sunday, December 19, 2010

Snow Much Fun....

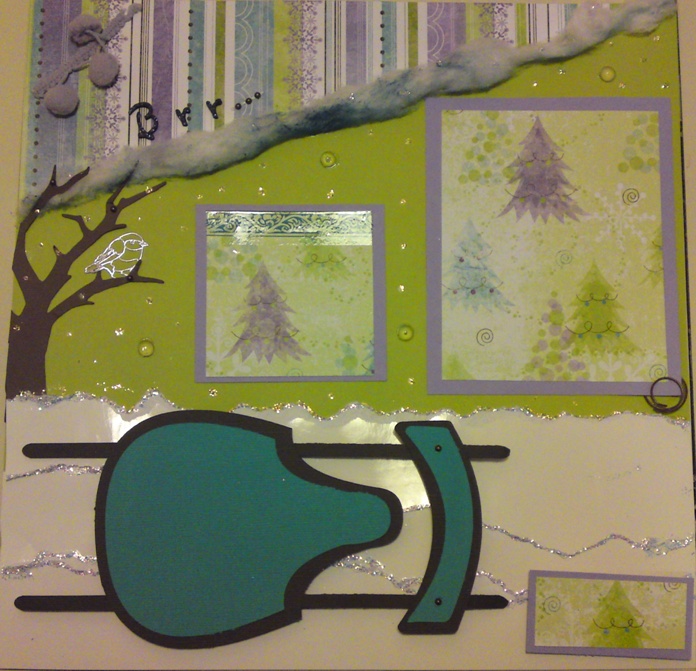
Well, thankfully the snow went out to sea and we had a reasonable day. Cold but it is December. I am so glad that the only snow we have is the snow on these pages. This was a class that I took with the Iris paper folding for a scrapbook page (I had done this for a card once). If you want to try this, you can check out this site:

Basic Iris Folding Instructions

Now onto the pages. This is a two page layout using Stickles, Distress ink on cotton, and tear paper technique.


I will definitely be taking a class with this teacher again. The next one is a Penguin Envelope album. :) I certain hope you try this technique. Until next time....


Happy Scrappin'


Sue